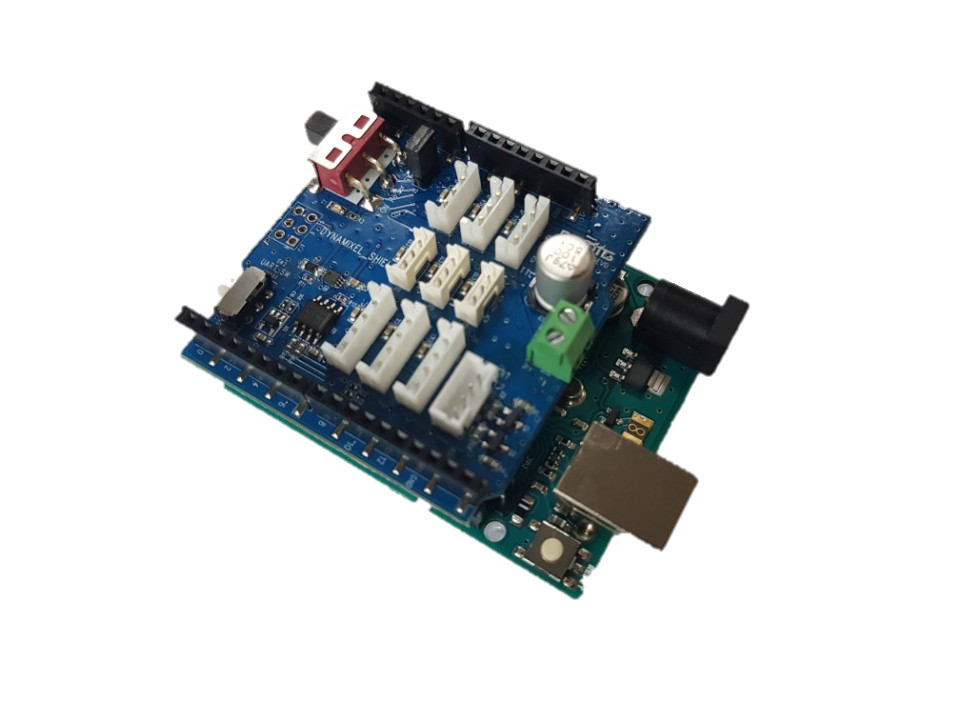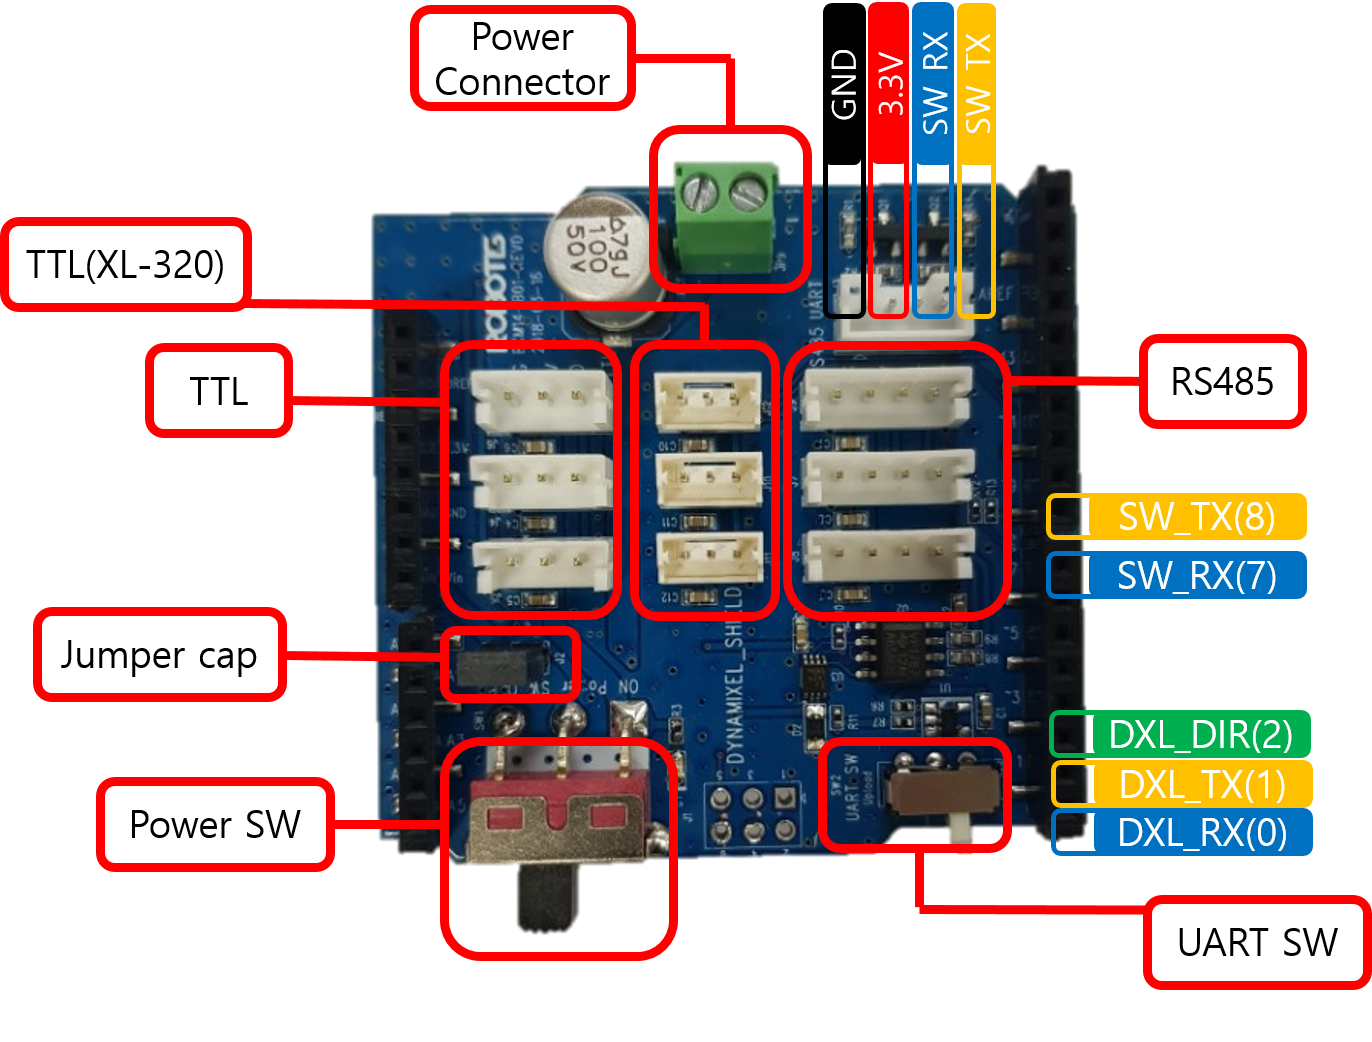


Dynamixel Shield was created to use RC100 and Dynamixel on arduino board. We provide dynamixel library for Dynamixel Shield, it can help you to use Dynamixel easily.
This product does not contain Arduino Uno. Arduino Uno should be purchased separately.
| Item | Details |
|---|---|
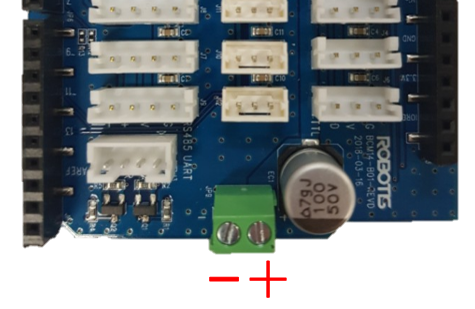
| Operating Voltage | 7.4V (XL-320), 12V (X Series) |
| Maximum Current | 1A(Arduino), 10A(Terminal Connector) |

| Pin No. | Pin Name | Description |
|---|---|---|
| 0 | HW UART RX | DXL_RX |
| 1 | HW UART TX | DXL_TX |
| 7 | SW UART RX | Caution2 SoftwareSerial |
| 8 | SW UART TX | Caution2 SoftwareSerial |
| Item | Description | Note |
|---|---|---|
| Dynamixel Port | TTL, TTL(XL-320), RS485 | Caution3 |
| Power Switch | Power SW (Dynamixel Port Power Switch) | - |
| UART Switch | UART SW (Upload or Dynamixel Select Switch) | Caution1 |
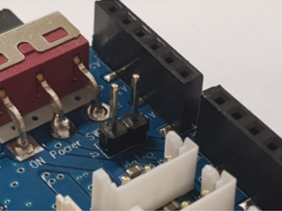
| Jumper Cap | Power Source Selection | Read ‘Connecting Power’ |
Caution1 When uploading firmware using USB port, you should switch the UART SW(SW_2) to Upload mode. When you select the UART SW (SW_2) to Dynamixel mode, you can use Dynamixel but USB port.
Caution2 If you are using a board that does not support SoftwareSerial(like SAMD, etc..), you cannot use pins 7 and 8 for UART purposes.
Caution3 TTL, TTL (XL-320) and RS485 connectors are all connected in parallel in one serial.
x
|Connect VIN|Disconnect VIN|
|:—:|:—:|
| |
| |
|


(Typically, each motor(XL-320 or XL430-W250) consumes 0.4 ~ 0.6A of current. )
There are three ways to add libraries to the Arduino IDE.
Each way is described in detail in the [Arduino Official Guide], so please refer to it if necessary.
Below is an example of using the Library Manager.

If you have successfully installed the library, you’ll be able to find several examples of DynamixelShield in the examples.

Before using library, you should initialize the communication speed of com port and protocol version with begin function.
dxl.begin(1000000, DXL_PACKET_VER_2_0);
Baud rate : 1Mbps, Protocol : Dynamixel protocol 2.0
The shield library is based on the Dynamixel model and automatically refers to the address value, so you need to add the ID and model of the connected Dynamixel to know what the connected Dynamixel is.
dxl.ping();
Using ping function, automatically search from 1 to 31 and add connected Dynamixel.
  dxl.begin(1000000);
  delay(1000);
  dxl.addMotor(1, M_XL430);
  dxl.addMotor(2, M_XL430);
  dxl.addMotor(15, M_AX12);
Add Dynamixel using addMotor function.
bool begin(uint32_t baud_rate = 57600, uint8_t protocol_version = DXL_PACKET_VER_2_0);

bool scan(void);
bool ping(uint8_t id = DXL_GLOBAL_ID);
bool addMotor(uint8_t id, uint8_t model);
bool setProtocolVersion(uint8_t version);
bool write(uint8_t id, uint16_t addr, uint8_t *p_data, uint16_t length, uint32_t timeout);
bool read(uint8_t id, uint16_t addr, uint8_t *p_data, uint16_t length, uint32_t timeout);

uint8_t getDxlCount(void);
uint8_t getDxlID(uint8_t index);
uint32_t getErr(void);
void clearErr(void);

bool reboot(uint8_t id);
bool reset(uint8_t id);

bool setID(uint8_t id, uint8_t new_id);
bool setBaud(uint8_t id, uint32_t new_baud);

bool ledOn(uint8_t id);
bool ledOff(uint8_t id);

bool torqueOn(uint8_t id);
bool torqueOff(uint8_t id);

bool setJointMode(uint8_t id);
bool setWheelMode(uint8_t id);

bool    setGoalPosition(uint8_t id, uint32_t position);
int32_t getGoalPosition(uint8_t id);
int32_t getCurPosition(uint8_t id);

bool    setGoalSpeed(uint8_t id, int32_t speed);
int32_t getGoalSpeed(uint8_t id);
int32_t getCurSpeed(uint8_t id);

bool    setGoalAngle(uint8_t id, int32_t angle);
int32_t getGoalAngle(uint8_t id);
int32_t getCurAngle(uint8_t id);

bool syncWriteBegin(void);
bool syncWriteEnd(void);