The ROBOTIS OpenCM is a development Software and download tool for the OpenCM9.04 embedded board.
Sources of the ROBOTIS OpenCM are released under licenses of their respective authors.
Copyright (c) ROBOTIS Co., Ltd. Modified or newly-created codes are released under the GNUGPL or LGPL licenses.
For more information on the OpenCM9.04 refer to the Appendix section of the e-manuals.
ROBOTIS OpenCM Software Download
OpenCM9.04 uses the ROBOTIS OpenCM Integrated Developmental Environment (IDE) to allow users to program with ease.
The download link for the ROBOTIS OpenCM IDE can be found below:
Install_Software
Windows
Prepare the OpenCM9.04 and USB cable
For the cable you must prepare an Android phone/pad Micro-B type USB cable. (This is included as a component of the package for the B type, and for the A type you must purchase through an accessory kit. Android smartphone cable is supported.)
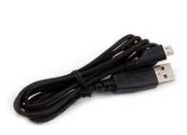
Micro-B USB cable : same as Android smartphone
Download the Windows release for ROBOTIS OpenCM IDE
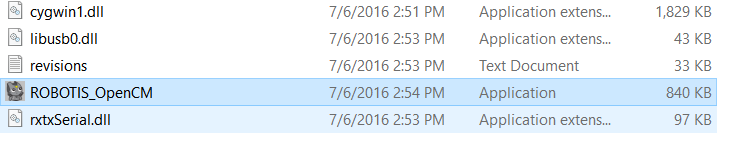
Download the latest version from the ROBOTIS E-manual(support.robotis.com) site and unzip the file in an adequate directory, which will contain the execution file ROBOTIS_OpenCM.exe and the USB driver folder(\drivers) as shown below.
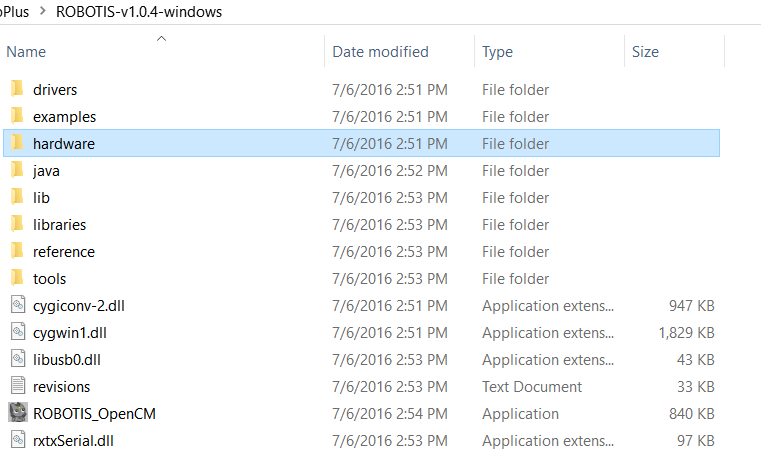
Directory structure after unzipping the file
Note that the ROBOTIS OpenCM is a portable program that only needs to be unzipped and executed without the need for any separate installation process. If you wish to remove the program, you simply need to delete the directly fully.
Connect the OpenCM9.04 to the PC
For the installation of the USB driver, simply connect the OpenCM9.04 to the PC using the USB cable as shown below.
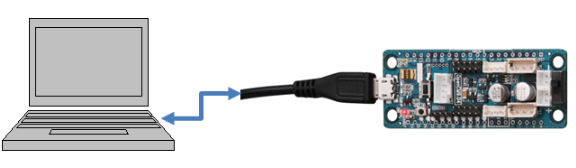
Figure 2.4.1-4 Connecting the OpenCM9.04 to the PC
However we do recommend you avoid connecting to a USB hub that is in use with many other USB devices, and instead you connect to the PC directly. There can be rare cases in which if there is not enough electric current from the USB hub then the download can fail.
Driver Installation
For Window 8 or 10, go to “PC settings -> Update and recovery -> Recovery -> Advanced startup -> Troubleshoot -> Advanced options -> Startup Settings -> Restart -> Select 7) Disable driver signature enforcement, and then restart” and then install using Run as administrator.
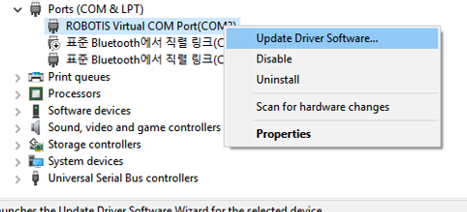
In the previous step, connecting the OpenCM board to the PC will make a device called “ROBOTIS Virtual COM Port” appear in the Device Manager.
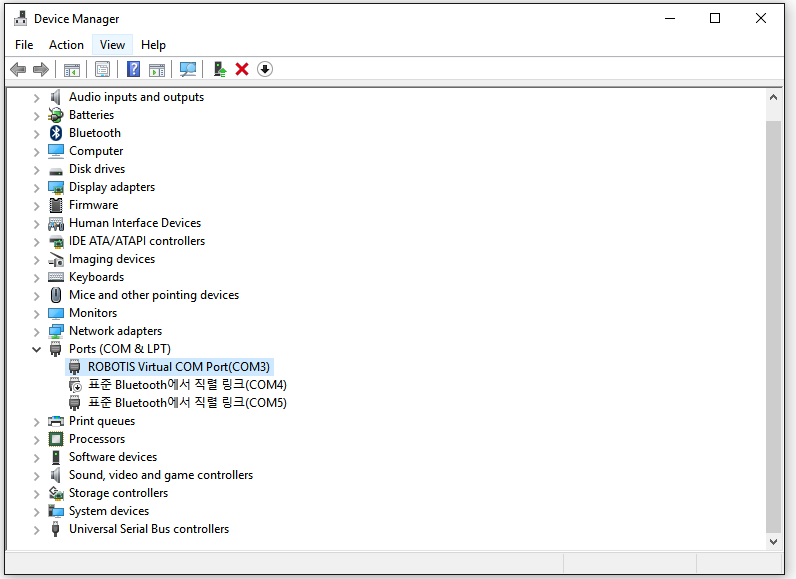
Right-click on that device and select “Update Driver Software”.
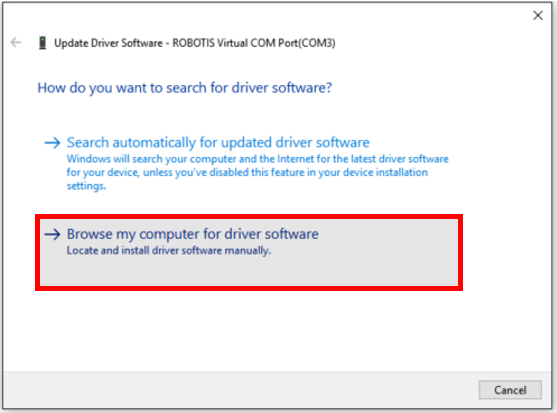
Next select “Browse my computer for driver software”.
Click on “Browse” and select the directory that you unzipped above(ROBOTIS\drivers).
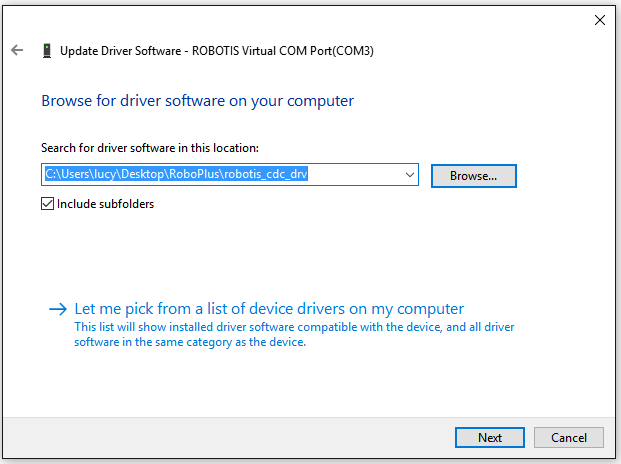
Click Next and the installation proceeds.
If the USB driver is installed successfully, a message will appear that says “Windows has successfully updated your driver software” as shown below.

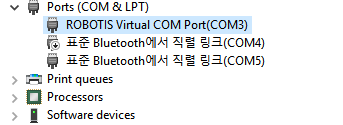
At this stage it is important to check in the Device Manager what COM Port number the ROBOTIS Virtual COM Port has just been installed as.
Connecting to another USB port may change the COM Port number so if you connected to another port then check again and proceed to download.
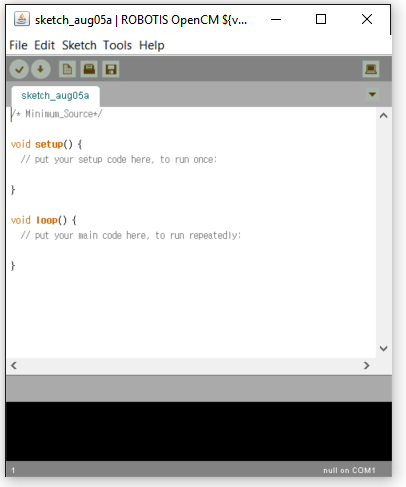
In the unzipped directory(\ROBOTIS) double-click on the file ROBOTIS_OpenCM.exe.
This will execute the ROBOTIS OpenCM tool as shown below.
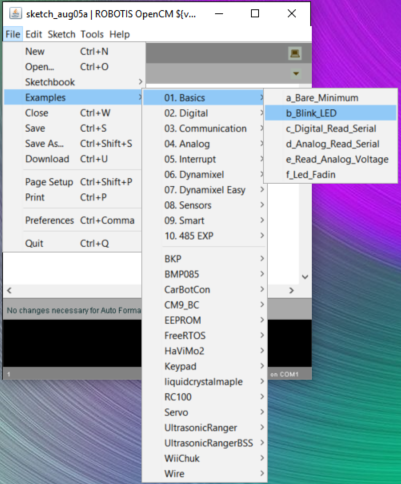
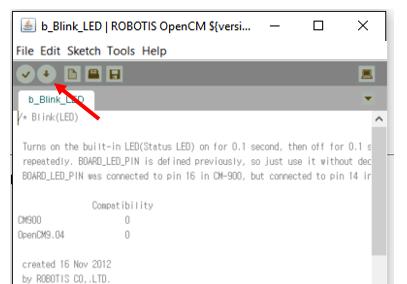
Go to File → Examples → 01.Basics → b_Blink
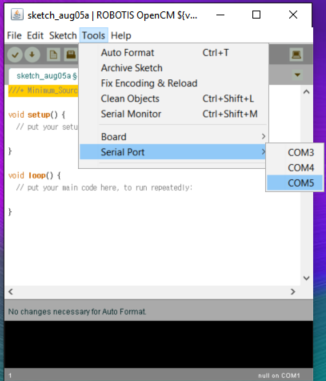
In Tools → Board, select ROBOTIS OpenCM9.04.
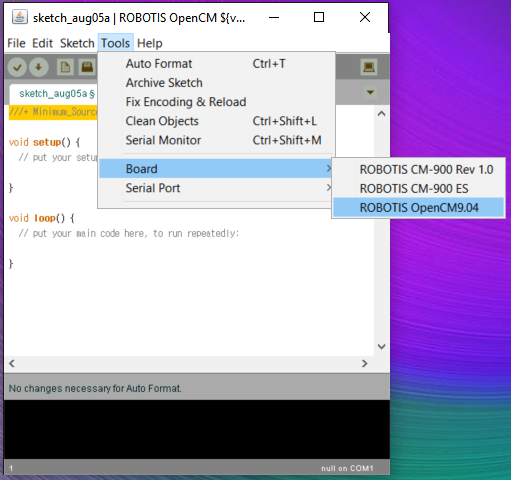
Make sure you select the COM Port number that you checked in the previous step.
Click on the Download button as shown below. As the download begins the board’s green LED is continuously turned on. Once the download is complete the board resets and the Blink example is executed, and the LED blinks.
NOTE : If the power turns on for the board and the green LED is continuously turned on then restart the Download. Please refer to the Emergency Recovery Mode(Force Download) section.
MAC OS X
Download the installation image file(dmg) for Mac OS X from the E-manual.
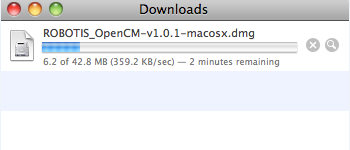
When the download finishes, double-click on the dmg file below and proceed to Mount.

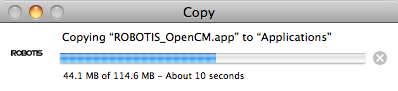
After mounting, when an installation window appears, click on the Robotis icon with the mouse and drag it to Application.
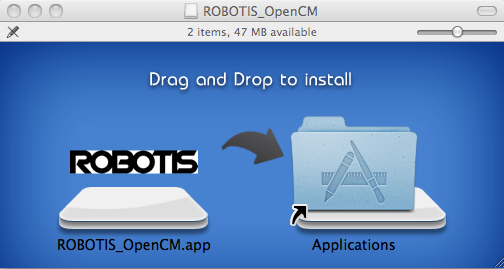
Then the installation will proceed as below.
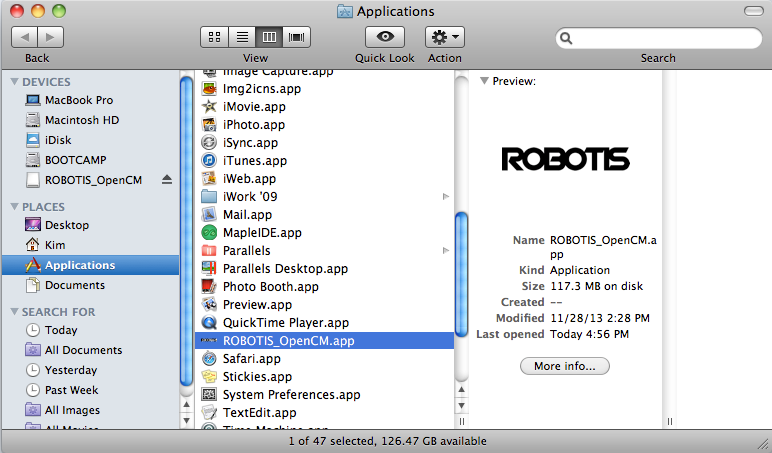
Using Finder, look in the Application folder to find the ROBOTIS.app application package and double-click on it to run the program.
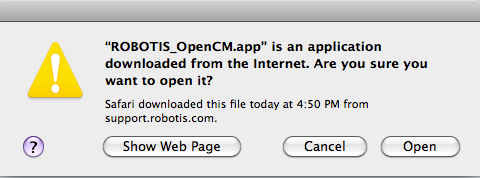
As in the figure below, select the Open button.
The ROBOTIS OpenCM is executed as shown below.

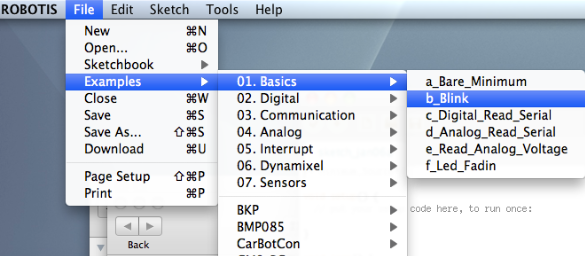
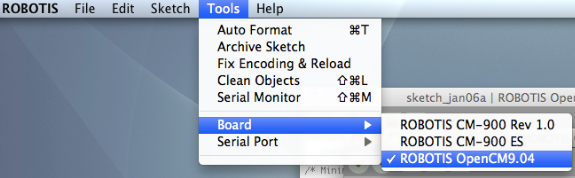
Go to File → Examples → 01. Basics → b_Blink
Select ROBOTIS OpenCM9.04.
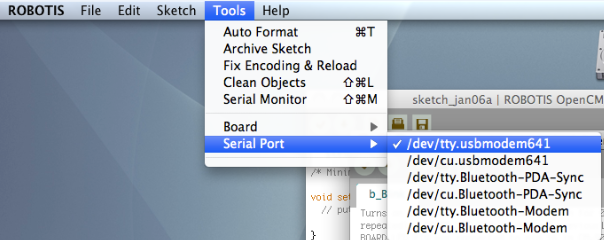
Select tty.usbmodemXXX. The number on the end is different for each PC.
Click on the Download button as shown below. As the download begins the board’s green LED is continuously turned on. Once the download is complete the board resets and the Blink example is executed, and the LED blinks.
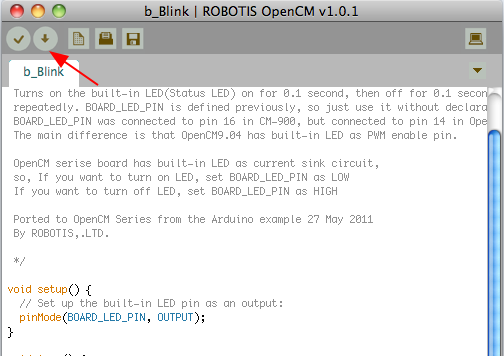
NOTE : If the board’s green Status LED does not turn on even after clicking on the Download button, press on the User button and while keeping the button pressed connect the USB to the PC.
NOTE : If the power turns on for the board and the green LED is continuously turned on then restart the Download. Please refer to the Emergency Recovery Mode(Force Download) section.